Fluigent introduces Aria our automated solution for cellular perfusion or timed injection protocols. Aria allows…
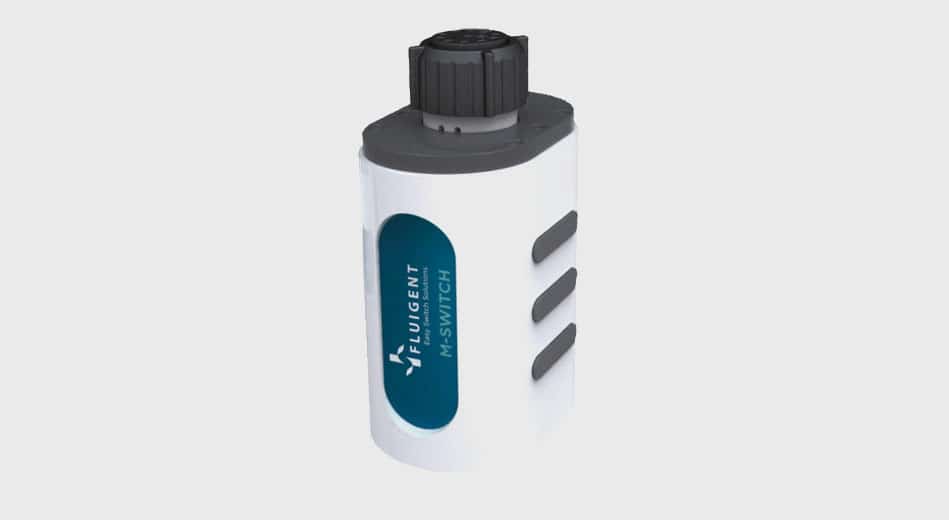
How to add an M-SWITCH into a microfluidic experiment?
Every week, Fluigent helps you with your daily routine with particular tips that can enhance your experience with your products.
How do I add My M-SWITCH™ in my experiment?
This articles concerns only the fluidic connections of the M-SWITCH™. You have all the steps described with pictures, and with a step-by-step procedure below:


- Cut the 1/16’’ OD tubing to the desired length, leaving a square-cut face. For connecting a plug, take one of the plugs provided by Fluigent.
- Mark each piece of tubing or plug 24mm from the end (it will be an indicator to ensure that the tubing is fully seated).
- Loosen the Spanner adequately to release the ferrules of the integrated fittings.
- Insert the piece of tubing or plug in one port and push it all the way to the bottom of the port. The mark made at step 2 should be approximately flush with the top of the ram when tubing is fully seated.
- Once tubing or plugs have been inserted in all ports, tighten the spanner to clench the fittings around tubing and plugs and have a tight connection. To check the tightness of your connection, you may pull gently on the tubing and plugs: they must stay fitted in the integrated fittings.
- Warning:
- The M-SWITCH™ device can only be connected with 1/16’’ OD tubing.
- All ports need to be connected: Use plugs on the non-used ports.
- Use the same tubing material (PEEK/FEP) on all the ports to have a well tighten of the spanner.
Related Posts